Overhead Food Photography: How to Shoot Perfect Flat Lays
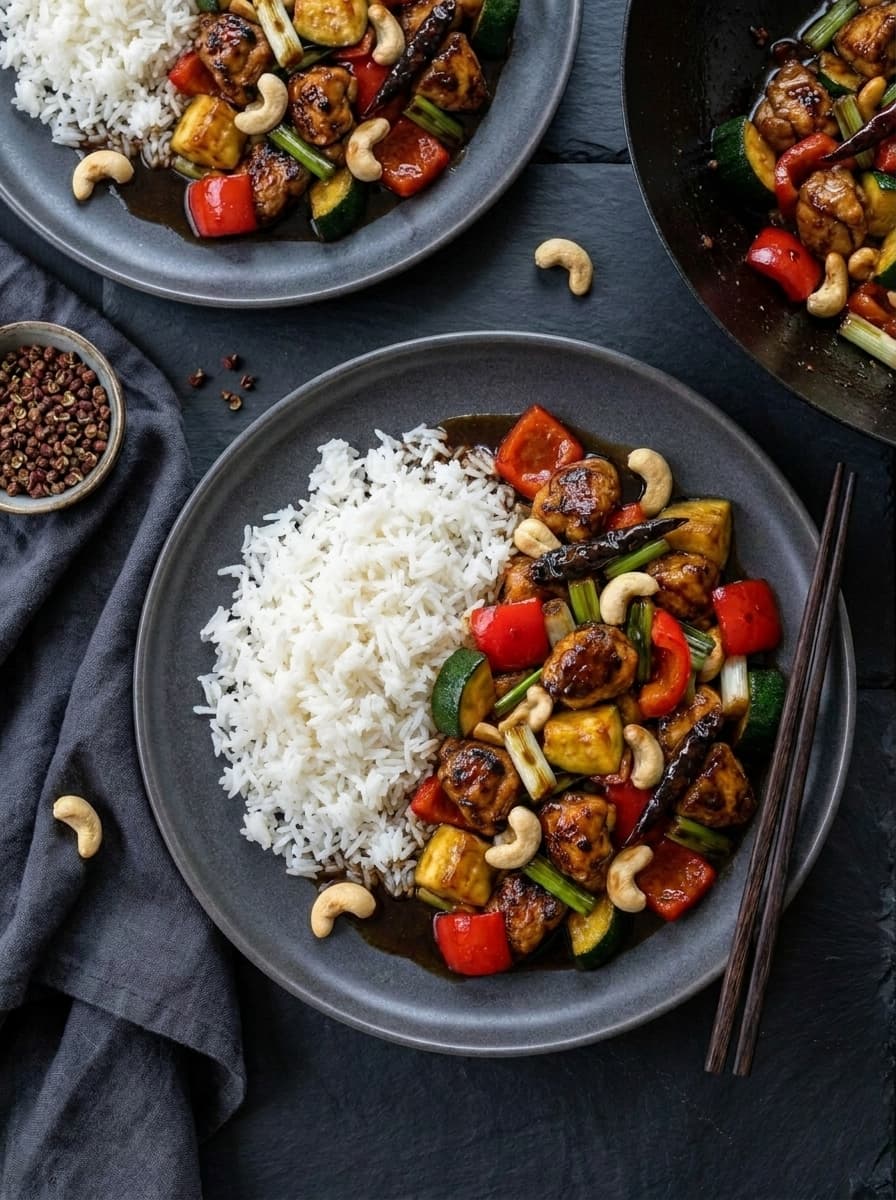
Overhead food photography (flat lay) is the most popular angle on Pinterest and food blogs. It shows the full spread — colors, arrangement, ingredients, and styling. It's also the angle most food bloggers get wrong.
Why Overhead Works for Food Blogs
Pinterest-optimized. Overhead shots in 2:3 vertical ratio are Pinterest's ideal format. They show enough of the scene to be compelling while leaving room for text overlays.
Shows the full story. A table spread with the main dish, sides, ingredients, and props creates an aspirational image that makes readers want to cook.
Works with any light. Overhead is the most forgiving angle for window light because you're shooting straight down — shadows fall naturally behind the food.
The Setup
Surface. Your background IS the photo. Use a surface that matches your food photography style:
- White marble for clean editorial
- Warm oak/walnut wood for rustic
- Dark slate/black for moody
- See our backgrounds guide for options
Camera position. Directly above the food, looking straight down. The camera must be perfectly parallel to the surface — any tilt creates distortion (round plates look oval).
Tripod. A tripod with a horizontal arm or boom is ideal for overhead. If you don't have one, stand on a chair and hold the camera level. For phone photography, use a phone tripod with an extending arm ($15-25).
Lighting. Place the surface near a window. The light should come from one side or behind the food. Use a reflector on the opposite side to fill shadows.
Composition Rules for Flat Lays
Rule 1: Create Visual Flow
The viewer's eye should move through the frame in a circular or diagonal pattern. Don't cluster everything in the center.
Technique: Place the main dish slightly off-center (rule of thirds). Arrange supporting items (side dishes, ingredients, utensils) in a loose circle or diagonal line around it.
Rule 2: Use Odd Numbers
Three bowls look better than two. Five props look better than four. Odd numbers create visual tension and interest. Even numbers feel static.
Rule 3: Leave Breathing Room
Don't fill every inch of the frame. Negative space (empty surface) gives the eye places to rest and makes the food stand out. Leave at least 15-20% of the frame empty.
Rule 4: Vary Heights With Props
Even though you're shooting from above, height variation creates visual interest. A cutting board elevated by a napkin, a glass of water, scattered herbs — these add depth to a flat image.
Rule 5: Anchor With the Main Dish
The hero dish should be the largest and most prominent item. Everything else supports it. If a side dish or prop draws more attention than the main dish, remove it or move it.
Dishes That Look Best Overhead
Great for overhead:
- Bowls (soup, salads, grain bowls, oatmeal)
- Pizza and flatbreads
- Sheet pan dinners
- Spreads and platters (charcuterie, mezze)
- Salads
- Pasta (in a shallow bowl)
- Breakfast plates
Better at 45-degree angle:
- Tall items (burgers, stacked pancakes, layer cakes)
- Drinks in tall glasses
- Anything where height is the selling point
Common Overhead Mistakes
Tilted camera. Even 2-3 degrees of tilt makes plates look oval and ruins the flat lay. Check your camera's level indicator.
Shadows from your body. When shooting from above, your body can block the light source. Position yourself so you're not between the window and the food.
Too many props. Beginners fill every inch with props. Start with the main dish + 2-3 supporting items. Add more only if the composition needs it.
Centered composition. Placing the main dish dead center looks like a product catalog shot, not editorial food photography. Use the rule of thirds.
What to Read Next
- Food Photography for Food Bloggers — the complete guide
- Food Photography Styles Guide — which style to pair with overhead
- Food Photography Equipment — tripods and gear for overhead
- Food Photography Props — styling your flat lay
Want professional overhead shots without the setup? Our AI food photography service generates editorial overhead compositions — $15/set.